


Building a raised garden bed with wood is a fantastic way to create a thriving garden that maximizes your space and gives you full control over the soil environment. Raised beds offer many benefits, including better drainage, improved accessibility, and less strain on your body compared to traditional in-ground gardening.

Step 1: Selecting the Ideal Location for Your Raised Bed
Location is key when setting up your raised garden bed. Here are some factors to consider when choosing where to place your bed.
Sunlight Needs
Most plants, especially vegetables, require at least 6-8 hours of direct sunlight a day to grow well. When selecting a spot, ensure it gets enough light throughout the day. Keep in mind that raised beds tend to warm up faster than in-ground gardens, so they provide an early start to your growing season.
Avoid Low-Lying Areas
Raised beds work best in well-draining areas. Avoid spots where water tends to accumulate, as this will negate the benefits of raised beds. Ensure that the ground beneath the bed drains well so that water doesn’t pool at the bottom of the bed, which can lead to root rot.
Ease of Access
Choose a location that allows easy access to your garden. Raised beds are meant to be easy to maintain, so placing them close to a water source or near your home will make gardening more convenient.
Step 2: Choosing the Right Materials for Your Raised Bed
The materials you use will directly impact the longevity of your raised bed and the health of your plants. Here are some important considerations when selecting materials.
Best Wood Options
- Cedar: Cedar is one of the best choices for raised garden beds due to its natural resistance to rot, insects, and weather conditions. It is durable, long-lasting, and has a pleasant aroma. Cedar is a bit more expensive, but its longevity and resistance to decay make it well worth the investment.
- Redwood: Redwood shares similar qualities with cedar, including resistance to rot and insects. It’s a premium option for those who want a long-lasting raised bed. Redwood has a rich, reddish color that adds a luxurious touch to your garden.
- Cypress: If you’re on a budget, cypress is an affordable option that still offers decent resistance to decay. While it’s not as durable as cedar or redwood, cypress will still last a few years with proper care.
What to Avoid
- Pressure-Treated Wood: Avoid using pressure-treated wood for raised beds, as it contains chemicals that can leach into the soil and harm plants, especially edible ones.
- Pine: Pine is cheap and widely available but not as durable as cedar or redwood. It tends to rot quickly and will require frequent replacement.
Step 3: Gathering the Tools and Materials
To build your raised garden bed, you’ll need a few basic tools and materials. Below is a list of what you’ll need to get started.
Materials
- Wood (Cedar, redwood, or cypress)
- Screws (Galvanized deck screws work best to resist rust)
- Corner brackets (Optional for extra support)
- Landscape fabric or weed barrier (Optional)
Tools
- Saw (Circular saw or miter saw)
- Drill (With drill bits for pilot holes)
- Screwdriver
- Measuring tape (For accurate measurements)
Step 4: Step-by-Step Instructions for Building the Bed
Once you have your materials and tools ready, it’s time to build your raised garden bed. Follow these simple steps:
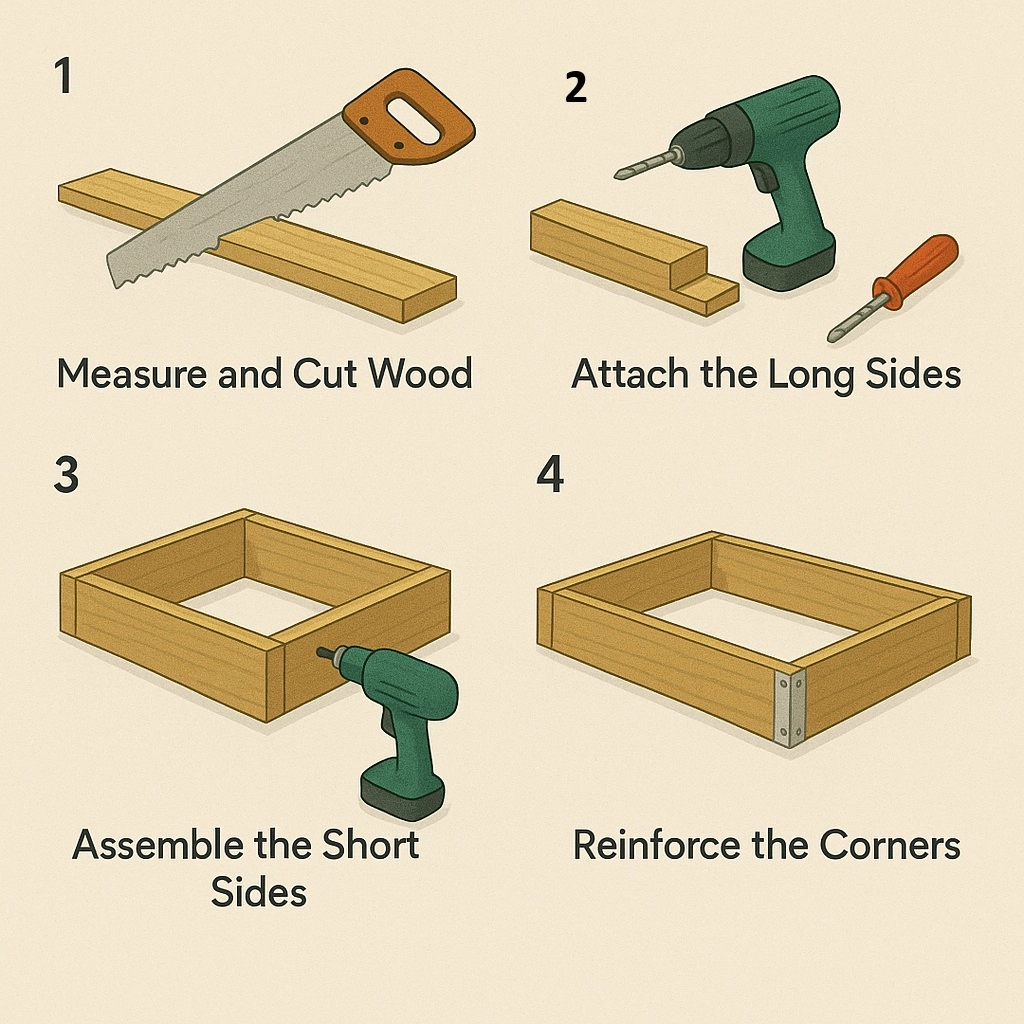
1. Measure and Cut the Wood
Use a saw to cut your wood to the desired lengths. For a 4×8 raised bed, you’ll need:
- Four 8-foot pieces for the long sides
- Four shorter pieces for the ends (typically 4 feet each)
2. Assemble the Short Sides
Start by attaching the shorter pieces to form the ends of the bed. Use corner brackets for added strength. Drill pilot holes before inserting screws to avoid splitting the wood.
3. Attach the Long Sides
Once the short sides are assembled, attach the long pieces to form a rectangular frame. Use screws to secure everything firmly.
4. Reinforce the Corners
To make your bed even sturdier, add corner brackets or extra framing supports to reinforce the structure. This is especially important for large or heavy beds.
Step 5: Filling the Raised Bed with Soil and Planting
Now that your bed is built, it’s time to fill it with soil and start planting. The soil you choose will directly impact the health and growth of your plants.
Choosing the Right Soil Mix
Raised beds require a well-draining soil mix. A good blend for raised beds is:
- 60% loamy soil (well-draining, yet retains moisture)
- 30% compost (for organic matter and nutrients)
- 10% organic material (such as peat moss or well-rotted manure)
You can create a custom mix depending on the plants you want to grow.
Fertilizing and Watering
- Watering: Raised garden beds dry out faster than in-ground gardens, so be sure to water consistently, especially during hot weather. Drip irrigation systems or soaker hoses are perfect for evenly watering the bed.
- Fertilizing: Use organic fertilizers or compost to feed your plants. Add fertilizer during planting and throughout the growing season to provide continuous nutrients.
Tip: If you’re looking for an elevated solution for gardening, Outsunny’s Wooden Raised Garden Bed with 8 Grids could be a great option. It offers multiple compartments for better organization and also includes a storage shelf to keep your gardening tools close by.
Step 6: Managing Weeds and Pests
Managing weeds and pests is essential for a thriving garden. Raised beds make this easier, but you can take extra steps to prevent issues.
Weed Prevention
- Landscape Fabric: Lay landscape fabric at the bottom of your raised bed to keep weeds from growing through the soil.
- Mulch: Applying mulch on top of the soil will help keep weeds at bay, retain moisture, and prevent soil erosion.
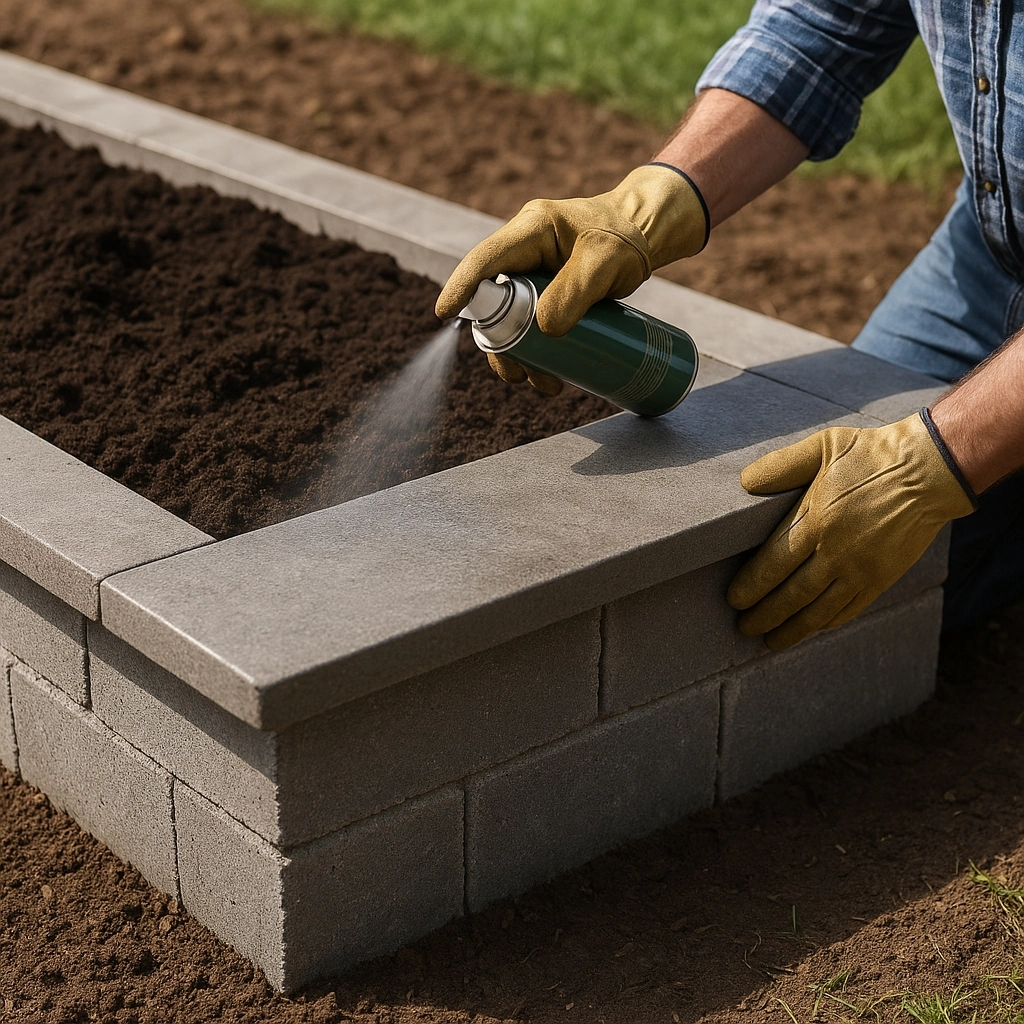
Pest Prevention
- Hardware Cloth: Install hardware cloth at the bottom of the bed to prevent rodents and burrowing pests from reaching your plants.
- Row Covers: Use row covers or netting to protect plants from insects while still allowing air and sunlight to reach them.
Step 7: Maintaining Your Raised Garden Bed
Maintaining your raised bed ensures that it continues to provide a healthy environment for your plants.
Replenishing Soil
Over time, the soil in your raised bed will settle. Add fresh compost or topsoil to replenish nutrients and maintain proper soil depth. This will also help your plants grow strong and healthy.
Checking for Wear and Tear
Regularly inspect the wood for signs of rot or damage. If any sections are starting to degrade, replace them to ensure the structural integrity of the bed. Wood naturally wears down over time, especially when exposed to moisture.
FAQs
How do I stop my raised garden bed from rotting?
Use durable wood like cedar or redwood, which naturally resists rot. Additionally, make sure the bed is in a well-drained area to prevent excess moisture from damaging the wood.
What’s the best soil for raised garden beds?
A good mix includes 60% loamy soil, 30% compost, and 10% organic material like peat moss. This ensures good drainage, moisture retention, and nutrient availability for your plants.
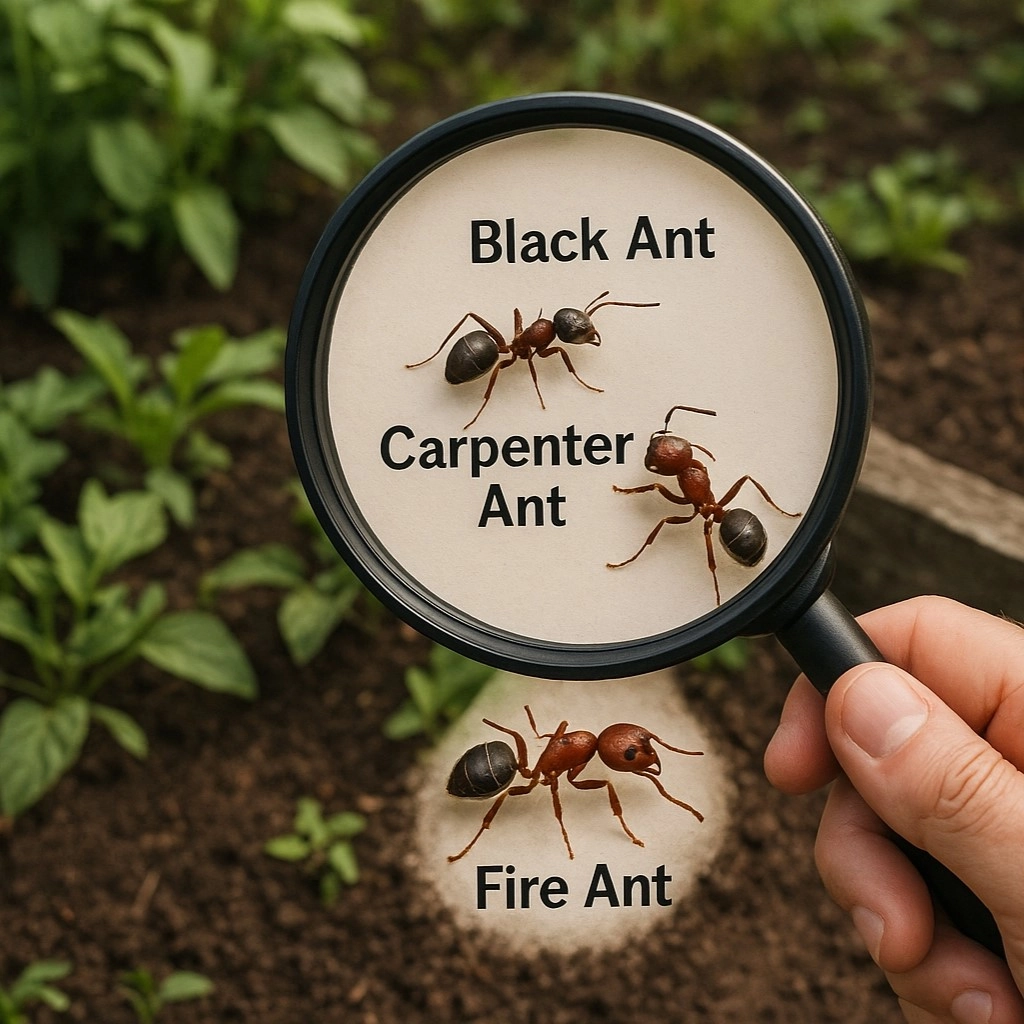
How do I prevent pests in my raised garden bed?
Install row covers or use mesh to keep pests away from your plants. You can also use natural deterrents like neem oil or companion planting to minimize pest damage.