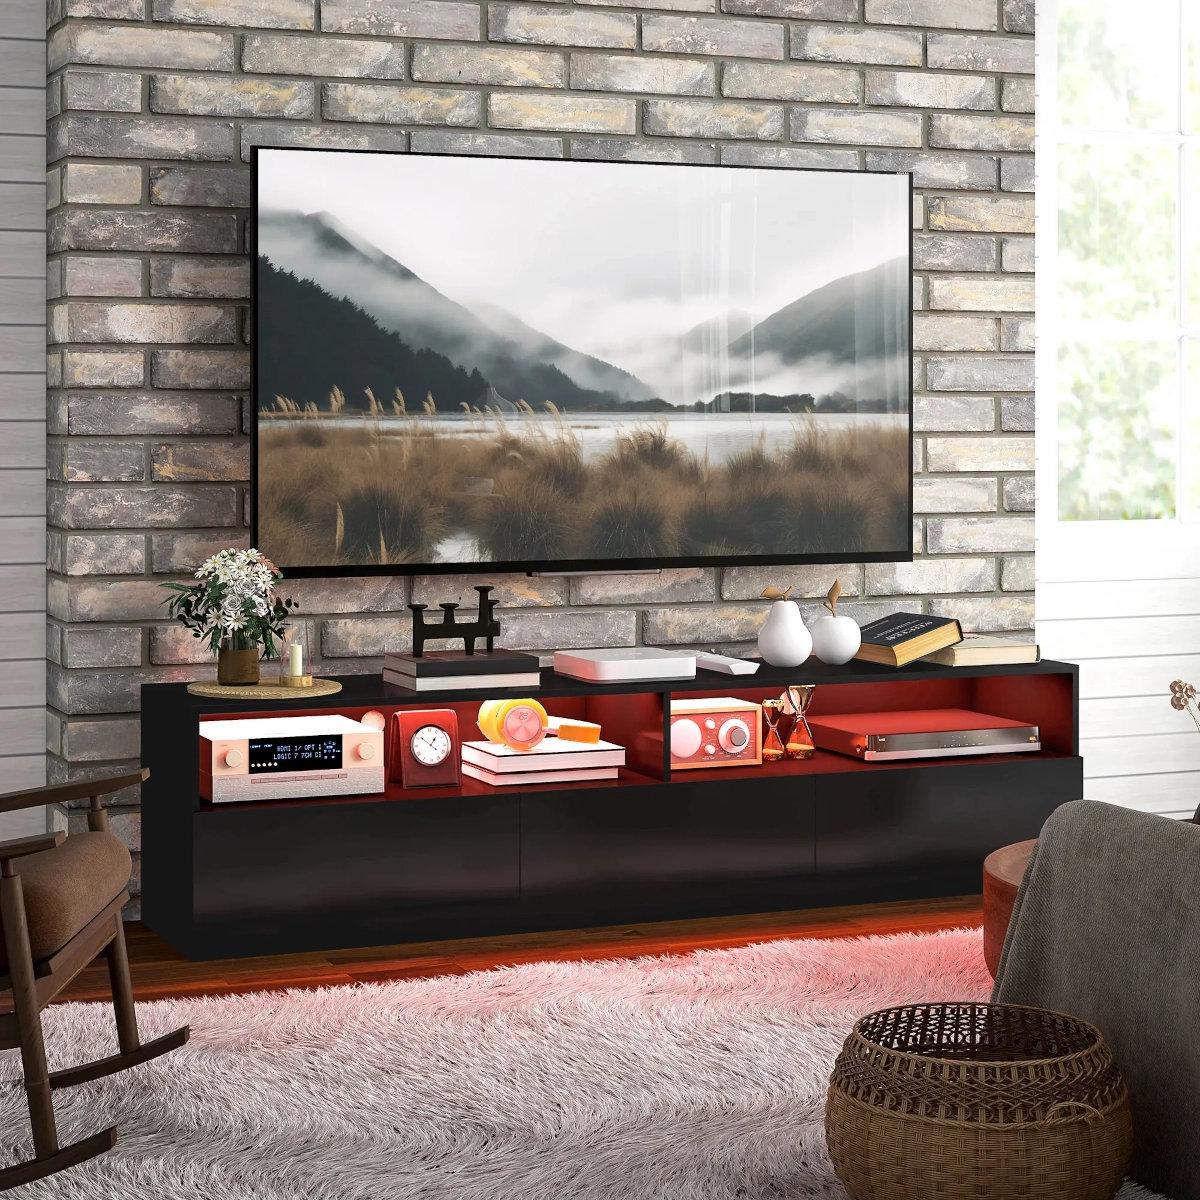


A fireplace mantel isn’t just a shelf, it’s the centrepiece of your room. Whether you use your fireplace daily or simply enjoy its visual warmth, the mantel plays a crucial role in framing your style. If yours is looking tired, dated, or simply doesn’t match your current interior, painting it is one of the easiest ways to upgrade your space without a full remodel.

This article offers detailed instructions and professional tips to help you paint your fireplace mantel from start to finish. Whether your mantel is made of wood, MDF, brick, or veneer, you’ll learn how to clean, prep, and paint it for lasting, beautiful results.
Step 1: Identify the Mantel Material
Before you begin, determine what your mantel is made of. Different materials require different preparation methods and types of paint.
Common Materials
- Wood: Easily painted; ideal for sanding and refinishing.
- MDF (Medium Density Fibreboard): Paintable but must be sealed to prevent moisture absorption.
- Brick or Stone Veneer: Needs deep cleaning; use masonry primer and breathable paint.
- Metal: Must be lightly sanded and painted with rust-resistant, heat-safe paint.
Your surface type determines not only the prep work but also the type of primer and paint that will provide the best results.
Step 2: Check Fireplace Safety
Not all areas around a fireplace can be painted safely. It’s essential to understand where heat is present and whether the paint you plan to use can withstand it.
Safety Guidelines
- Do paint the mantel shelf and surrounding frame that doesn’t get hot.
- Don’t paint the inside of the firebox or areas in direct contact with flame or intense heat.
- Use heat-resistant paint if the mantel is close to the firebox opening or gets warm during use (look for paints rated for 250°C / 480°F).
Always ensure the fireplace is off and the area is completely cool before starting your project.
Step 3: Gather Tools and Materials
Being fully prepared before you begin helps ensure a smooth and efficient process.
You Will Need
- Cleaning solution (sugar soap or diluted vinegar)
- Sandpaper (120–220 grit) and a sanding block or sponge
- Painter’s tape (appropriate for your wall type)
- Drop cloths or plastic sheeting
- Wood filler and a small putty knife
- Primer (stain-blocking for wood or masonry for brick)
- Paint (chalk, enamel, or heat-rated latex)
- Angled paintbrush for trim and corners
- Low-pile microfibre roller for flat surfaces
Step 4: Choose the Right Paint and Finish
Choosing the right type of paint ensures both durability and the look you want.
Paint Types
- Heat-resistant latex: Ideal for mantels near working fireplaces.
- Enamel paint: Smooth and durable, great for wood or MDF.
- Chalk paint: Offers a soft, matte finish, best for decorative mantels, needs sealing.
Finish Options
- Matte: Great for rustic or vintage looks, less washable.
- Satin/Eggshell: Balanced sheen, more durable.
- Semi-gloss: Tough and cleanable, but reveals surface flaws.
Step 5: Test for Oil vs. Water-Based Paint
If your mantel is already painted, determine whether the existing paint is oil- or water-based.
How to Test
- Soak a clean rag with acetone (e.g., nail polish remover).
- Rub it on a small, hidden area of the mantel.
- If paint comes off on the rag, it’s water-based.
If nothing happens, it’s oil-based and you’ll need a bonding primer to ensure adhesion.
Step 6: Clean the Surface Thoroughly
A clean surface is critical for good paint adhesion. Any residue dust, soot, wax, or grease can interfere with your results.
Cleaning Process
- Remove wax with a putty knife if you’ve used candles on the mantel.
- Vacuum dust and debris from the surface and corners.
- Wipe down with sugar soap or a 1:1 vinegar and water solution.
- Rinse with a damp cloth and allow the surface to dry completely.
Tip: Always clean before sanding, sanding dirty surfaces can embed debris into the finish.
Step 7: Repair and Fill
Before you paint, fix any surface imperfections to avoid uneven results.
Repairs to Consider
- Fill chips, dents, or scratches with wood filler.
- Apply caulk in the joints between the mantel and the wall.
- Use a putty knife to smooth filler and caulk for a seamless finish.
- Once dry, lightly sand repaired areas and remove all dust.
Step 8: Sand the Surface
Sanding improves surface texture, enhances paint adhesion, and removes old finishes or gloss.
Sanding Tips
- Use coarse grit (60–80) to remove thick paint or uneven finishes.
- Use medium grit (120–180) for light sanding and surface keying.
- Use fine grit (220) for final smoothing.
- Always sand with the grain if wood grain is visible.
- A detailed sander or sanding sponge is helpful for mouldings and corners.
Wipe the surface clean with a damp cloth after sanding.
Step 9: Apply Bonding Primer (If Needed)
Some surfaces like glossy finishes, laminate, or intricate carvings can’t be sanded well. In these cases, use a bonding agent or primer.
- Apply in a very thin, even coat.
- Let dry for at least 12 hours before painting.
- Avoid applying too thickly, which can leave texture behind.
This ensures your paint adheres even to tricky surfaces.
Step 10: Mask and Protect Surrounding Areas
Proper masking keeps your workspace tidy and your lines clean.
Masking Instructions
- Use painter’s tape to mask off walls, trim, and the firebox.
- Choose delicate surface tape for new paint or wallpapered areas.
- Apply the tape firmly; press edges down with your finger or putty knife.
- Protect floors with a drop cloth or plastic sheet.
Optional: Seal the tape edge with a light swipe of the base paint to prevent bleeding.
Step 11: Apply Primer
Priming prepares the surface for painting, evens out colour, and prevents stains from bleeding through.
Priming Instructions
- Use stain-blocking primer on wood and MDF.
- Use masonry primer on brick or stone.
- Apply a thin, even coat using a brush and roller as needed.
- Allow the primer to dry fully, then lightly sand if necessary before painting.
Step 12: Paint the Mantel
Now comes the main event, painting your mantel.
Painting Process
- Cut in around trim, corners, and moulding with an angled brush.
- Use a low-pile roller to cover flat surfaces for smooth coverage.
- Apply two thin coats rather than one thick coat.
- Let the first coat dry fully according to the paint manufacturer’s instructions.
- Lightly sand between coats if the surface feels rough or uneven.
A brush is essential for reaching detailed areas, while the roller helps avoid streaks on flat sections.
Step 13: Remove Tape and Let Paint Cure
When your final coat is dry:
- Gently remove painter’s tape to avoid tearing.
- Let the mantel cure undisturbed for 24 to 48 hours before styling.
- If your fireplace is in use, wait at least 7 days before lighting a fire nearby.
Paint continues to harden and strengthen over time. Avoid placing heavy or sharp objects on it until fully cured.
Enjoy Your Painted Fireplace Mantel
Painting a Fireplace Mantel is a simple project that delivers significant style results. With the right tools, techniques, and attention to detail, you can revitalize your space and express your personal taste without the cost of a full renovation. From proper prep to expert-level painting techniques, following these steps will give you a clean, beautiful, and durable finish you’ll be proud to show off. Whether you’re updating a classic design or modernizing your mantel, your fireplace will feel brand new again.
FAQs
1. Should I remove the mantel before painting it?
Removing the mantel makes painting easier, but it’s optional. If left in place, mask thoroughly to protect surrounding surfaces.
2. Is it necessary to remove all old paint before repainting the mantel?
No, as long as the old paint is stable. Just sand to scuff the surface, clean well, and prime if needed.
3. Can I paint my mantel the same colour as the wall for a seamless look?
Yes, painting the mantel the same as the wall creates a minimalist, built-in effect that works well in modern interiors.